
1. Prep Your Hands – Wash your hands with room temperature water and dry them completely.
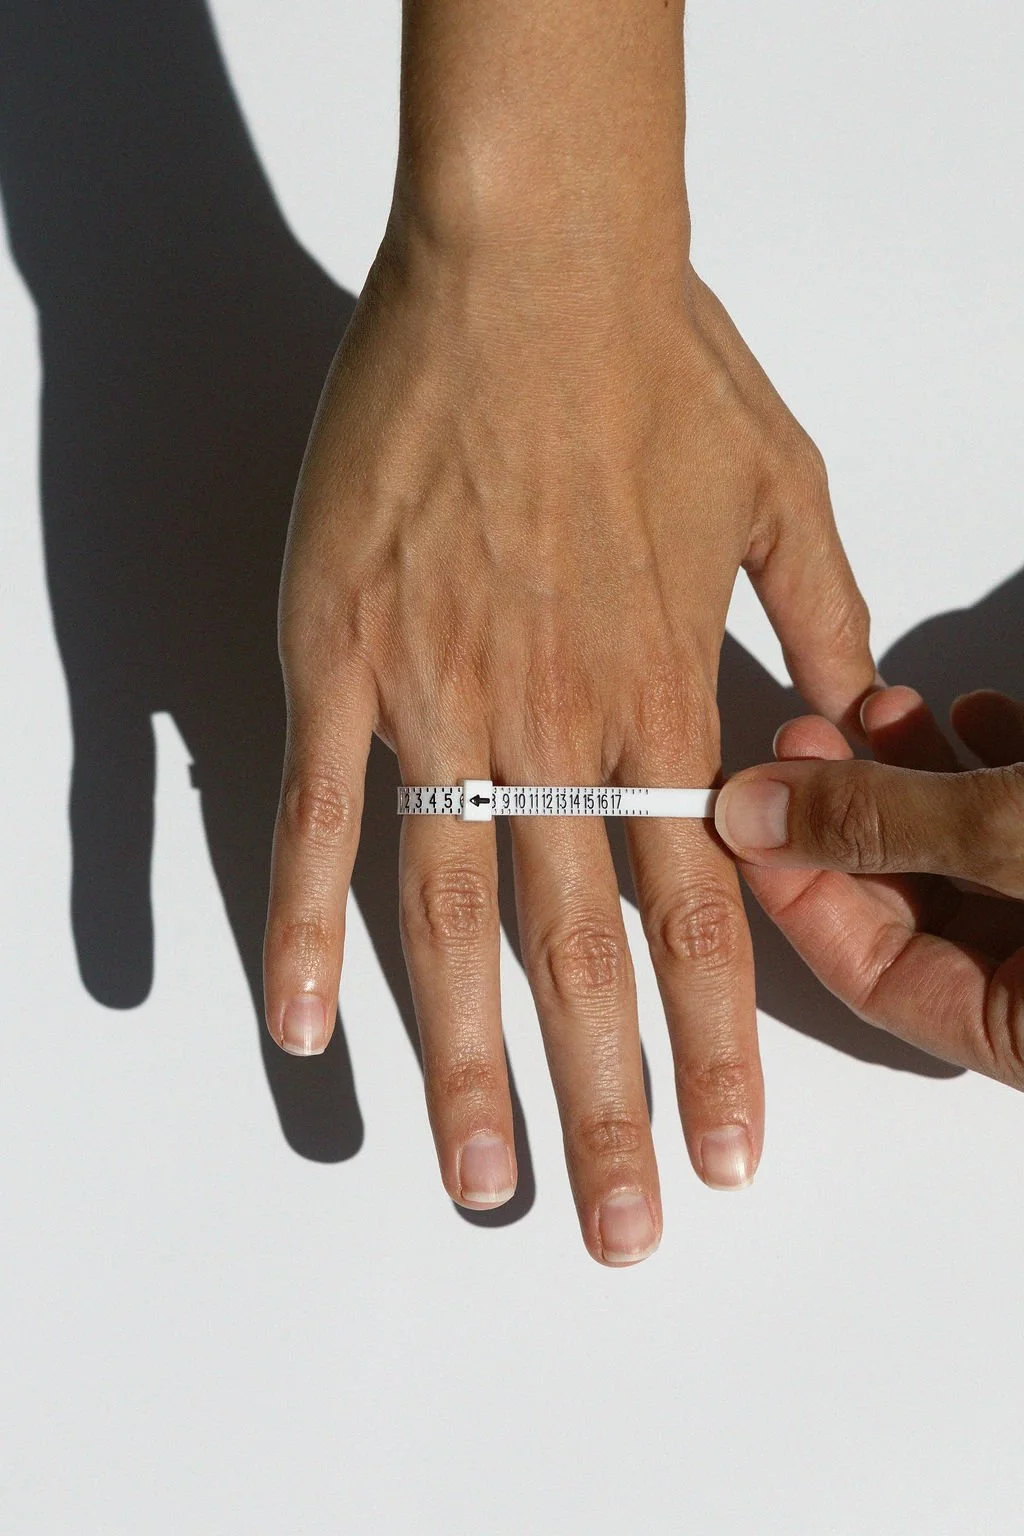
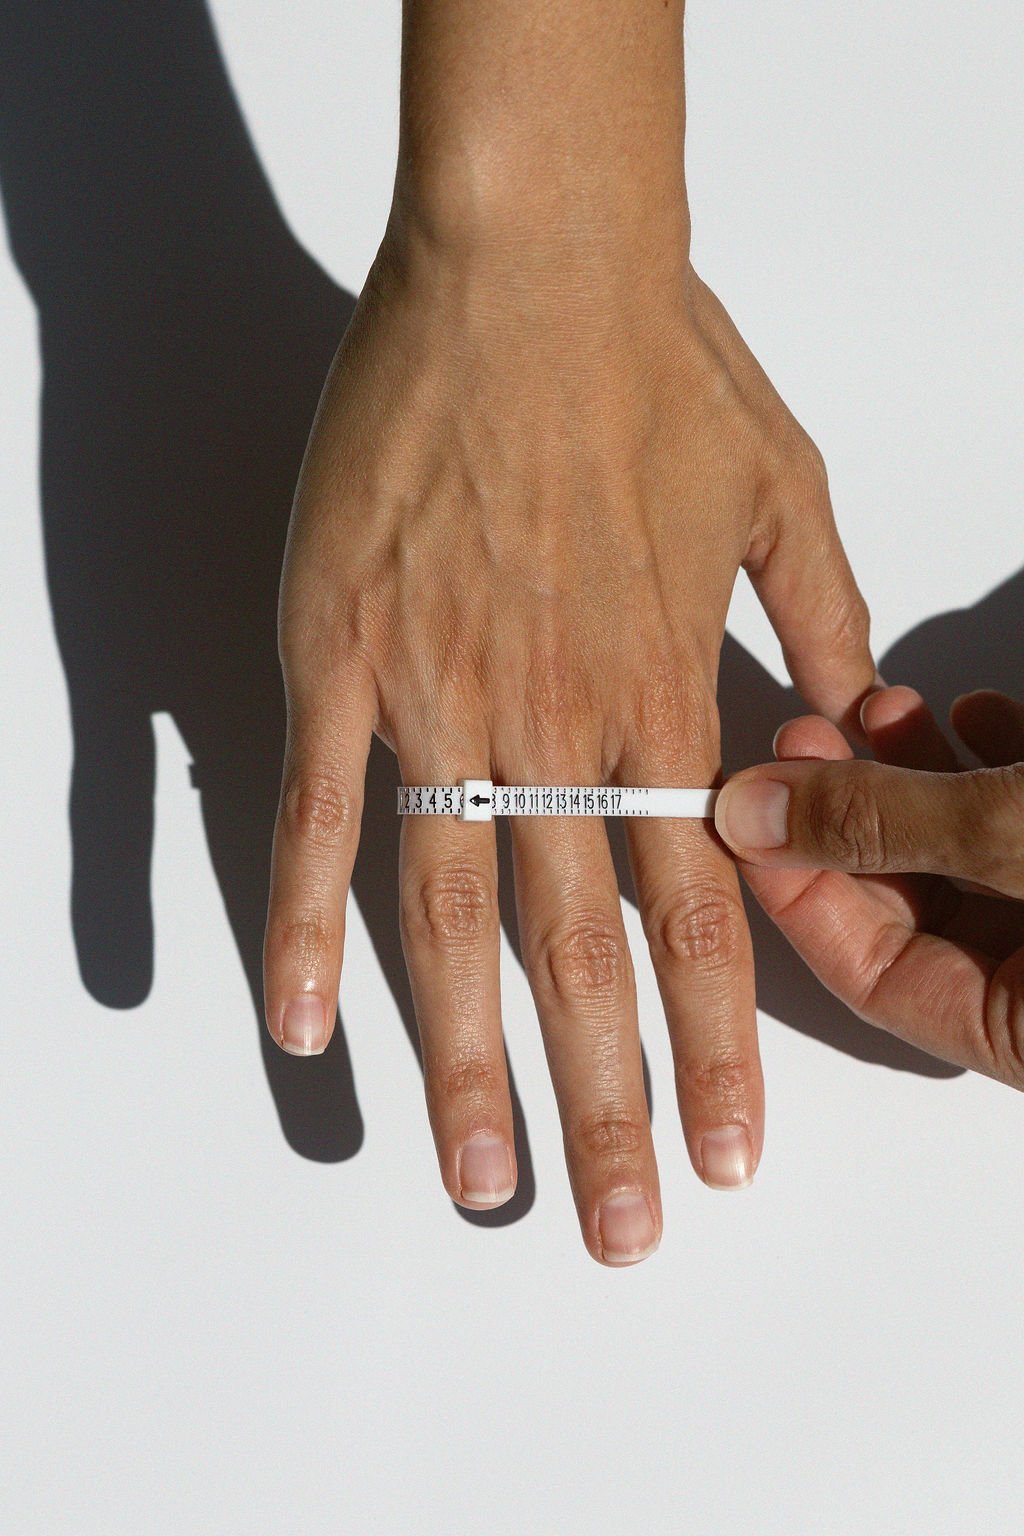
2. Loop & Adjust – Insert the end of the ring sizer into the buckle and slide it onto your finger.
How to Use Your Ring Sizer
3. Find the Right Fit – Tighten until it’s snug—secure enough to stay on but not so tight that it’s uncomfortable.
4. The Clench Test – Make a fist while wearing the sizer. If it adjusts slightly, that’s okay!
5. Slide Over the Knuckle – Without loosening, check if the sizer can slide off over your knuckle without struggle.
6. Read Your Size – Note the number the arrow points to, including half sizes if applicable.


INTERNAL DIAMETER (MM)
14.1 US / CANADA 3 | UK / AUS F
14.9 US / CANADA 4 | UK / AUS H
15.7 US / CANADA 5 | UK / AUS J
16.5 US / CANADA 6 | UK / AUS L
17.3 US / CANADA 7 | UK / AUS N
18.1 US / CANADA 8 | UK / AUS P
19.0 US / CANADA 9 | UK / AUS R
19.8 US / CANADA 10 | UK / AUS T
20.6 US / CANADA 11 | UK / AUS V
21.4 US / CANADA 12 | UK / AUS X
22.2 US / CANADA 13 | UK / AUS Z

Common Mistakes And How To Avoid Them
Squeezing Too Tight – Don’t pull the sizer too tight around your finger. If it’s too snug, you’ll get an incorrect size and may struggle to fit your ring later.
Not Adjusting for Band Thickness – The ring sizer is 5mm wide. If your chosen ring has a band wider than 8mm, you’ll need to size up. Add ¼ size for every extra 3mm of thickness. (Example: If you measure a 4.5 but want an 11mm band, go for a size 5.)
Measuring at the Wrong Time – Avoid measuring if your fingers are swollen, cut, or affected by illness, pregnancy, or moisturiser. These can all impact your true size.
Forgetting the Knuckle Test – If the sizer won’t slide over your knuckle without adjusting, consult a jeweller. This is key information for proper sizing.